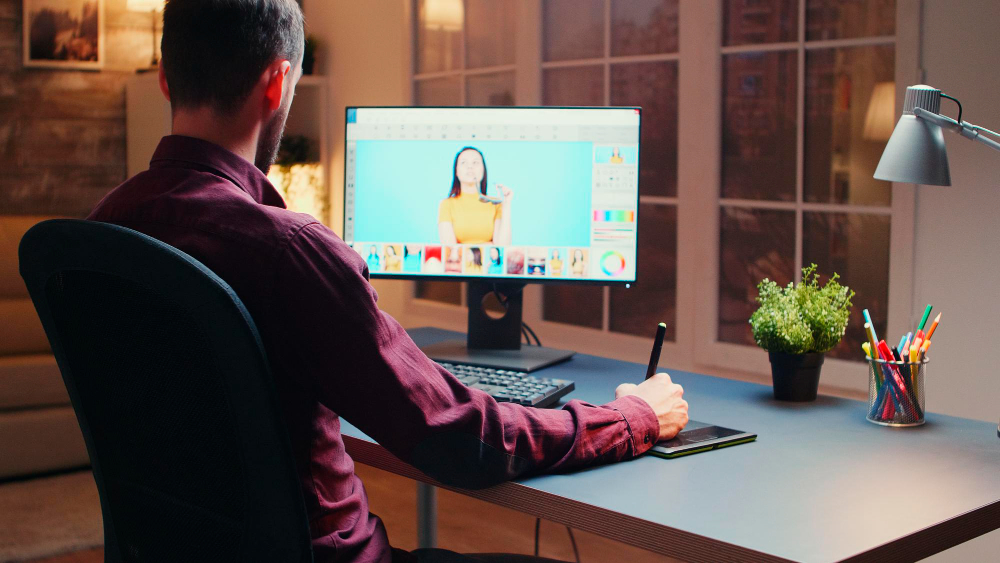
Step-by-Step Tutorial: Editing Your First Photo Online

Editing photos online has never been easier, thanks to a variety of tools available for beginners and professionals alike. This step-by-step tutorial will guide you through the process of editing your first photo online, from choosing the right tool to applying basic edits and saving your work.
Choosing the Right Online Photo Editor
Start by selecting an online photo editor that suits your needs. Consider the user interface, features, and whether the tool meets your editing goals.
Uploading Your Photo
Once you've chosen your editor, the next step is to upload the photo you wish to edit. Most online editors offer a simple drag-and-drop feature or an upload button.
Basic Edits
- Cropping: Adjust the frame of your photo to focus on the subject or improve composition.
- Adjusting Brightness and Contrast: Enhance the overall look of your photo by tweaking the brightness and contrast levels.
- Applying Filters: Experiment with different filters to achieve the desired mood or effect.
Saving and Sharing Your Edited Photo
After making your edits, save your photo. Consider the file format and quality settings before saving. Finally, share your edited photo online or with friends.
Conclusion
Editing your first photo online is a straightforward process that can dramatically improve the appearance of your images. With practice, you'll become more comfortable with the editing tools and techniques.
Embark on your first project using All Image Tools